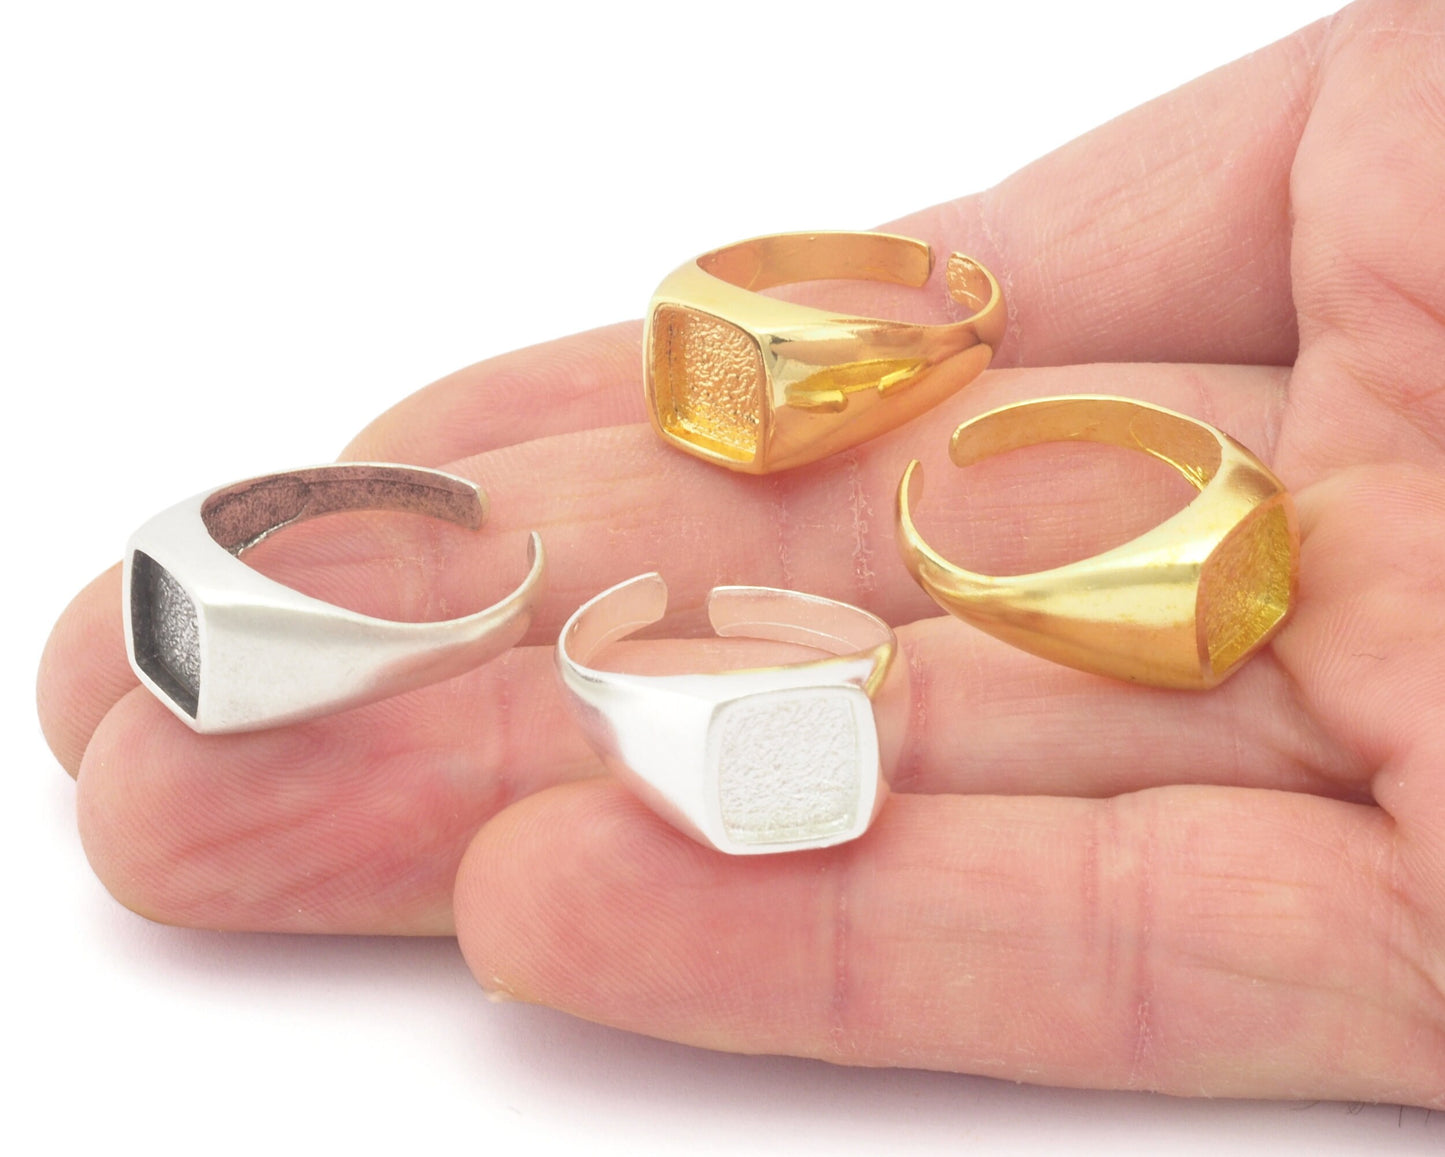
Signet Square Ring Adjustable Blank Base - raw brass or shiny silver-antique silver-shiny gold plated (5US - 7 US size - Adjustable ) Oz4677
Signet Square Ring Adjustable Blank Base - raw brass or shiny silver-antique silver-shiny gold plated (5US - 7 US size - Adjustable ) Oz4677
Shape: Square Blank
Setting size : 8x8mm
material: brass
finish: raw brass or shiny silver, antique silver, shiny gold
Color : gold or silver
Ring inner size : 5US - 7US Adjustable
If you want any different design and dimension please convo me,
Would you like to see our other products like this?
Setting a blank ring refers to the process of mounting a gemstone or other decorative element into a ring setting that doesn't yet have a stone. This allows you to create a customized piece of jewelry by choosing your own gemstone or design element to complete the ring. Here's a general guide on how to set a blank ring:
**Materials and Tools:**
- Blank ring setting (pre-made or custom)
- Gemstone or design element of your choice
- Jewelers' epoxy or adhesive
- Prong pusher or pliers (if using a prong setting)
- Bezel pusher or burnisher (if using a bezel setting)
- Soft cloth or tissue
- Measuring tools (optional)
**Steps:**
1. **Choose the Setting and Gemstone:**
- Select a blank ring setting that matches your design and size preferences. Blank settings come in various styles, such as prong settings, bezel settings, or even more intricate designs.
- Choose a gemstone or design element that fits the setting. Consider factors like size, shape, and color to ensure a proper fit.
2. **Prepare the Setting:**
- Ensure that the setting is clean and free of any dust, debris, or oils that may affect the adhesion of the adhesive.
3. **Inspect the Gemstone:**
- Examine the gemstone to make sure it's clean and free of any imperfections that might affect the final appearance of the piece.
4. **Apply Adhesive:**
- Depending on the type of setting, apply a small amount of jewelers' epoxy or adhesive to the setting where the gemstone will be placed. Be sure to follow the manufacturer's instructions for the specific adhesive you're using.
5. **Position the Gemstone:**
- Carefully place the gemstone into the setting, making sure it's centered and positioned as desired. If you're using a prong setting, make sure the prongs are in contact with the stone.
6. **Secure the Gemstone:**
- If you're using a prong setting, use a prong pusher or pliers to gently push the prongs over the gemstone. This secures the stone in place.
- If you're using a bezel setting, use a bezel pusher or burnisher to carefully push the metal edges of the bezel over the gemstone, creating a secure border.
7. **Clean Excess Adhesive:**
- Check for any excess adhesive that may have squeezed out from under the gemstone. Use a soft cloth or tissue to carefully wipe away any excess glue.
8. **Let the Adhesive Cure:**
- Follow the curing time recommended by the adhesive manufacturer. It's essential to let the adhesive fully cure to ensure a secure and long-lasting bond.
9. **Inspect and Polish:**
- Once the adhesive has cured, inspect the ring to ensure the gemstone is securely set and that there are no visible adhesive residues.
- Polish the ring as needed to remove any fingerprints or smudges.
10. **Wear and Enjoy:**
- Your customized ring with the newly set gemstone is now ready to be worn and enjoyed. It's a unique piece of jewelry that you've created to match your style and preferences.
Setting a blank ring with your chosen gemstone or design element allows you to create a one-of-a-kind piece of jewelry. Whether you're setting a precious gemstone or a unique design element, the process involves careful attention to detail to ensure a secure and visually appealing result.
Product features
Product features
Materials and care
Materials and care
Merchandising tips
Merchandising tips
Share


