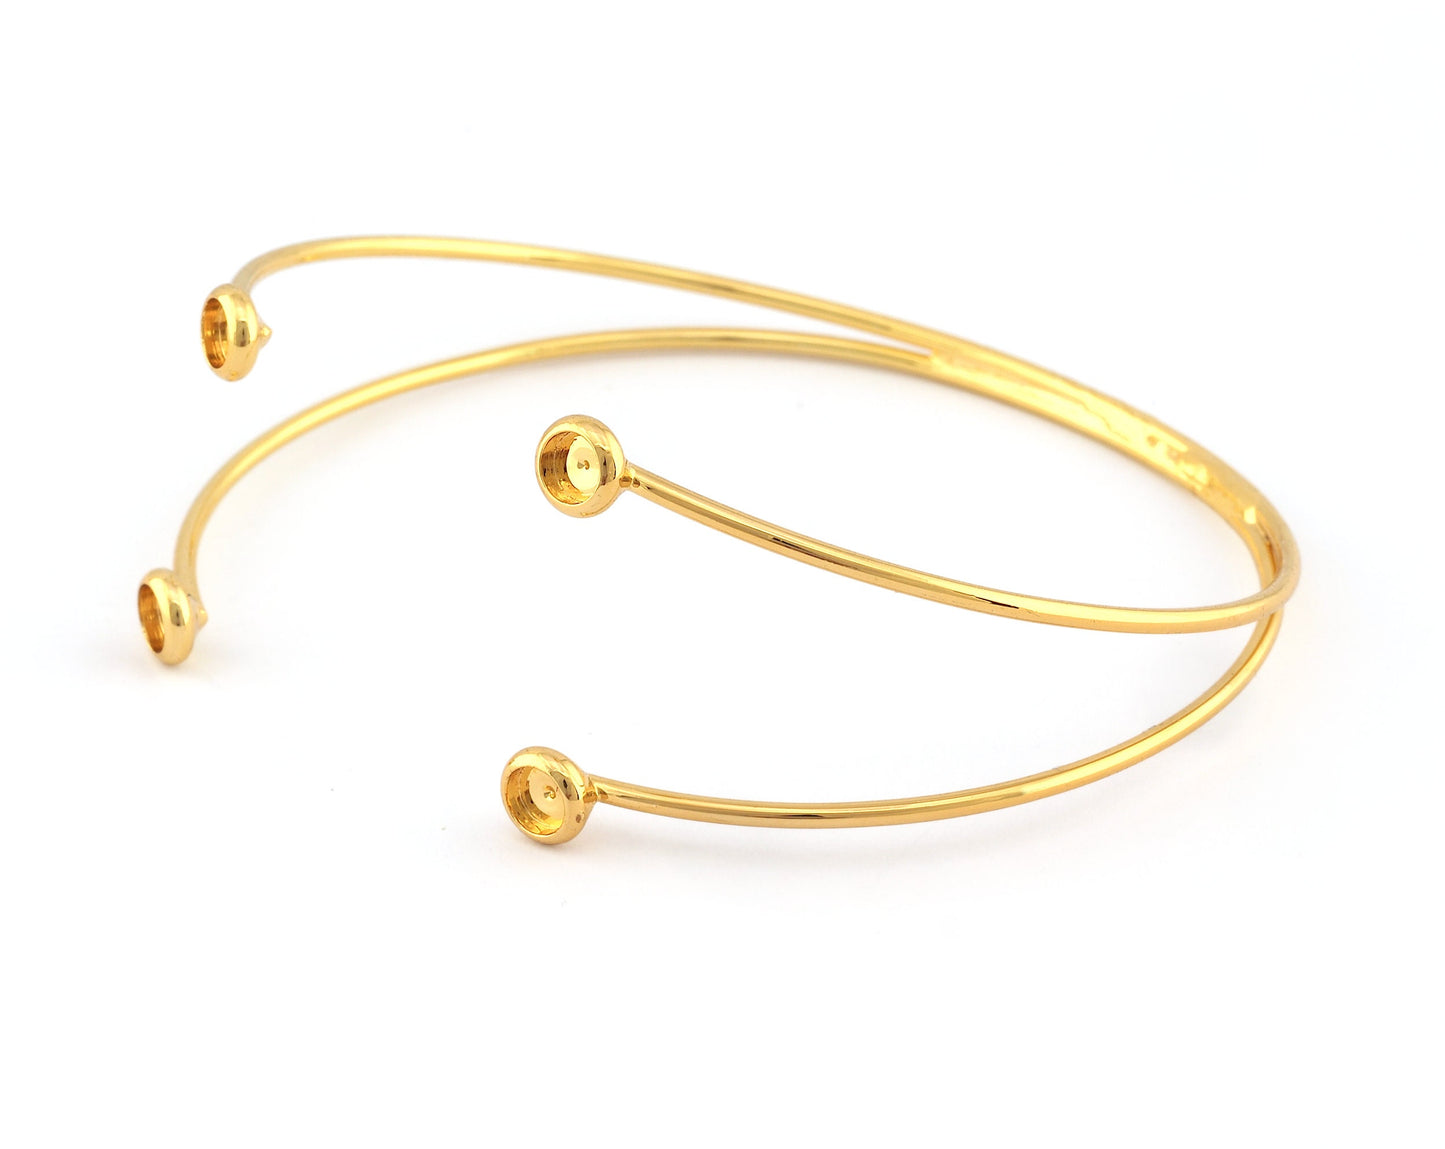
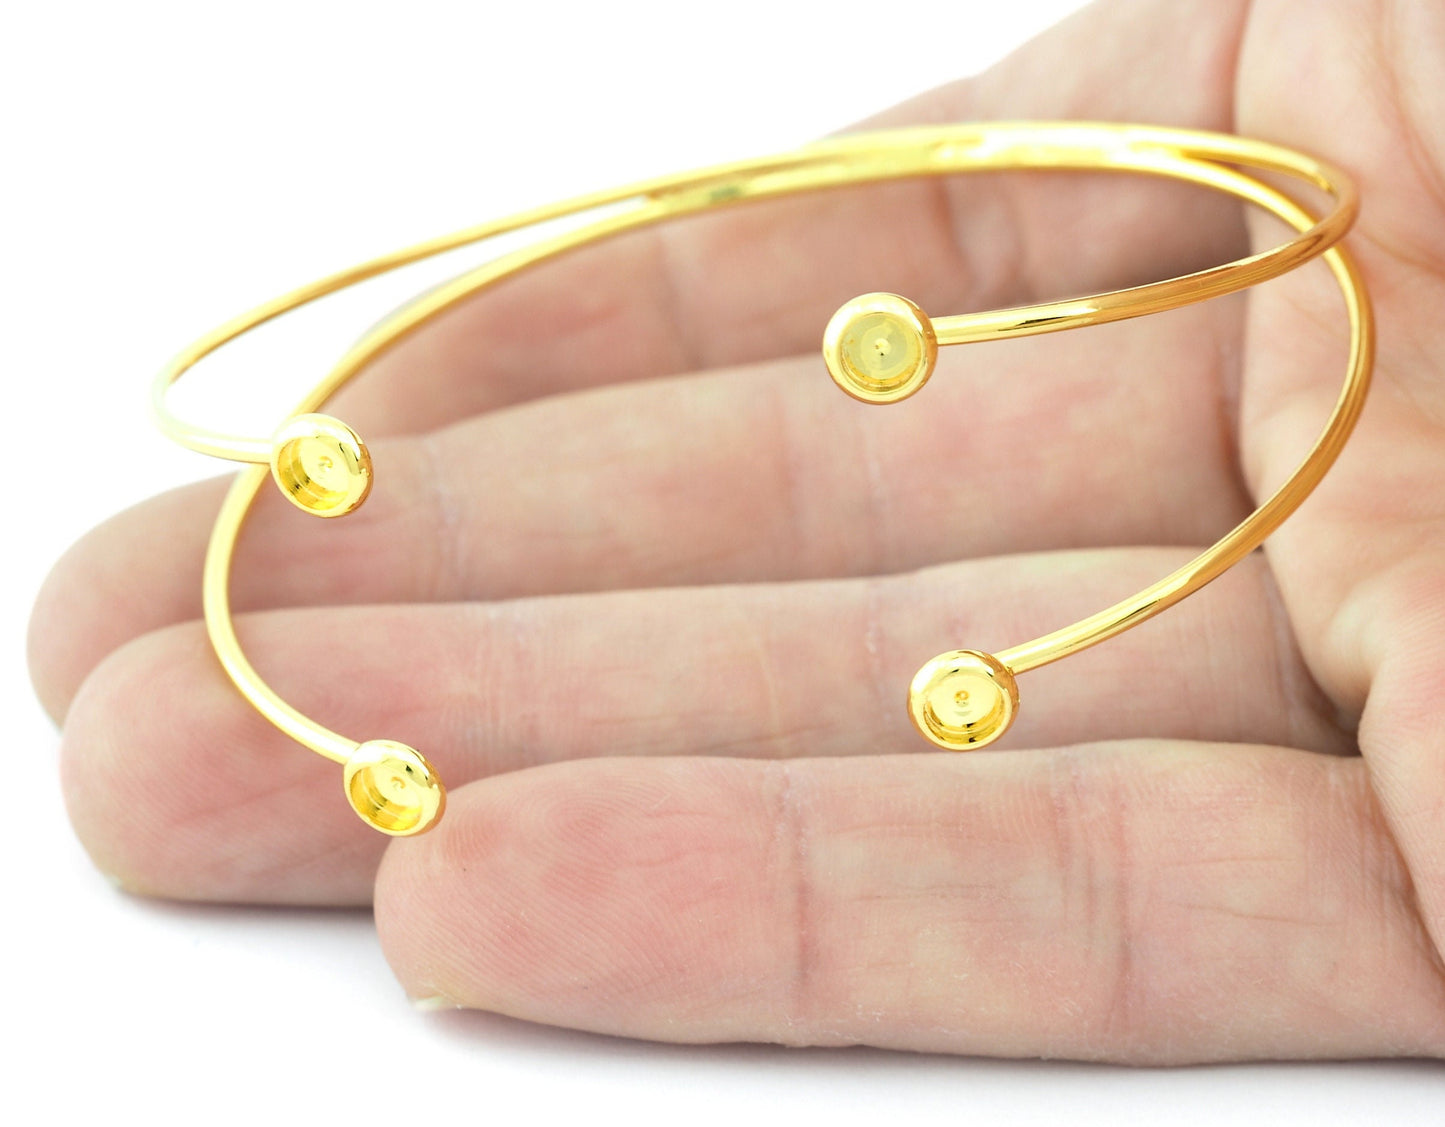
Wire Bracelet Base, Blank Bezel Settings, Shiny Gold plated brass (4mm Blank) 5185
Wire Bracelet Base, Blank Bezel Settings, Shiny Gold plated brass (4mm Blank) 5185
Shape: Wire bracelet
Material : Brass
Finish: Shiny gold plated
Blank: 4mm
Color : Shiny gold
Would you like to see our other products like this?
Rhinestones for this setting
Setting a blank bracelet refers to the process of preparing a bracelet base or foundation for the addition of decorative elements, charms, beads, or other jewelry components. Blank bracelets come in various styles and materials, including bangles, cuffs, link bracelets, and more. Here are steps to help you set up a blank bracelet:
**Materials and Tools:**
- Blank bracelet (bangle, cuff, or link bracelet)
- Decorative elements (charms, beads, pendants, etc.)
- Jump rings or connectors
- Pliers (chain-nose, flat-nose, and round-nose)
- Clasps (if needed)
**Steps:**
1. **Select Your Blank Bracelet:**
- Choose the type of blank bracelet you want to use as your base. This will determine the overall style and design of your finished piece.
2. **Plan Your Design:**
- Before you start adding elements to your blank bracelet, plan your design. Decide where you want to place each charm, bead, or pendant. Consider the color scheme, theme, or style you want to achieve.
3. **Open Jump Rings:**
- If you're attaching charms, beads, or pendants with jump rings, use your chain-nose pliers to hold one side of the jump ring and your flat-nose pliers to hold the other side. Gently twist the pliers in opposite directions to open the jump ring.
4. **Attach Decorative Elements:**
- Carefully slide the open jump ring through the hole or loop of your decorative element and then through the desired location on the blank bracelet.
- Close the jump ring securely by twisting the pliers in the reverse direction. Make sure it's completely closed to prevent the element from falling off.
5. **Repeat and Space Elements:**
- Continue adding decorative elements to the blank bracelet one by one, following your design plan.
- Use jump rings to attach items as needed. You can also use connectors or split rings for added security.
6. **Check Placement and Balance:**
- Periodically check the placement and balance of your decorative elements on the bracelet. Make adjustments as needed to achieve your desired look.
7. **Add a Clasp (If Necessary):**
- If your bracelet doesn't have a built-in clasp and requires one for closure, attach a clasp to the ends of the bracelet using jump rings or connectors.
- Make sure the clasp is securely attached and functional.
8. **Inspect and Finish:**
- Once you've added all your decorative elements and secured them in place, inspect the entire bracelet to ensure that everything is properly attached.
- Use round-nose pliers to add any final touches, such as bending jump ring ends to ensure they are flush with the metal surface.
9. **Clean and Polish (Optional):**
- Depending on the material of your blank bracelet and decorative elements, you may want to clean and polish the finished piece to remove any fingerprints, smudges, or tarnish.
10. **Wear or Gift:**
- Your set blank bracelet is now ready to be worn or gifted. Showcase your unique design and enjoy your custom-made jewelry piece.
Setting a blank bracelet allows you to create personalized and meaningful jewelry that reflects your style and creativity. Whether you're designing a charm bracelet, a beaded bangle, or a cuff with unique pendants, the process of setting up the blank bracelet is a fun and rewarding part of jewelry making.
Product features
Product features
Materials and care
Materials and care
Merchandising tips
Merchandising tips
Share


